Although sweeping robots liberate our hands to a certain degree, it is not entirely for once and for all. Occasionally we still have to remember to give our little helpers a clean bath. Most users always stay in the inverted dust box, change the "primary cleanup" stage of the filter, and can not completely clean the sweeper, resulting in poor cleaning effect of the sweeper, noise is getting bigger and bigger More and more electricity.
In fact, most of the sweeping robots currently on the market have similar main structures. Today, Xiao Bian has used his own sweeping machine as an example to teach everyone how to thoroughly clean their own small sweepers.
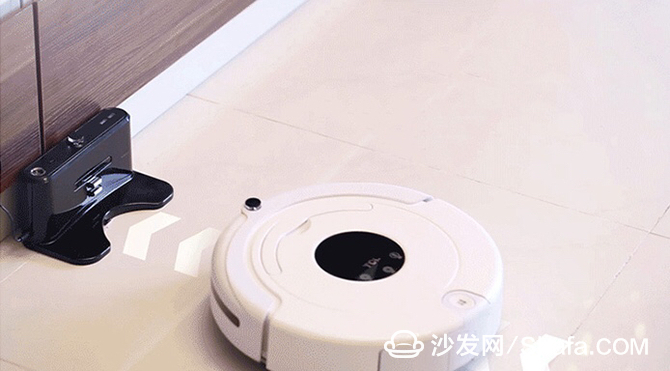
The TCL R1 sweeping robot at Xiao Bian's home has been used for two years. Its function has a drag sweeping sweeping route, independent remote control and touch screen control, support for scheduled appointment function, and comes with a liquid crystal display and standard The virtual wall, at the time, was a relatively cost-effective product. Not much to say, we went straight to the topic, dismantling the first look at the roughly divided into several parts.
First look at the bottom of the situation, for the TCL R1, in fact, there are two main layers, one layer is the top of the white lid, one layer is the bottom of the fuselage.
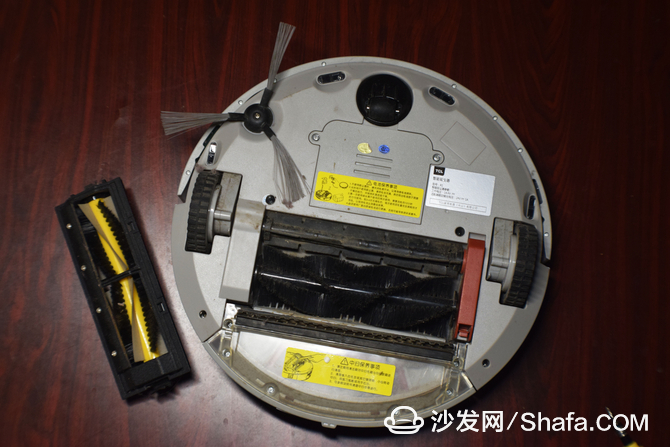
Props in place
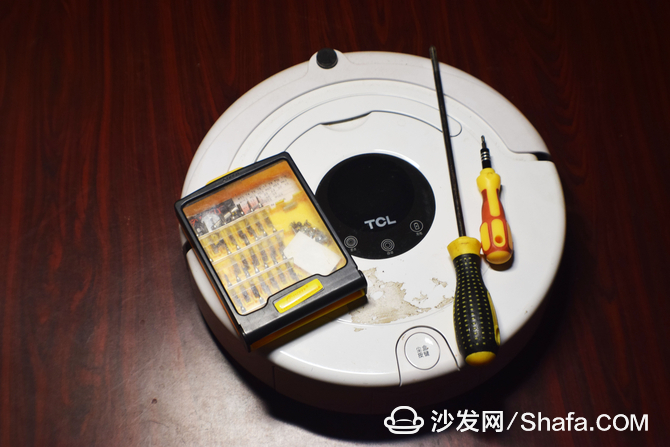
Preparation before dismantling: Wipes (wet and dry), brushes (wet and dry), screwdrivers and screwdrivers. The rag is used to wipe the fuselage, the metal part, and the brush is used to clean the dust and scrub, so this is why it needs to dry. A set of Jackley plus a long-handled Phillips screwdriver has satisfied the need to dismantle all components.
2. The dust box goes first
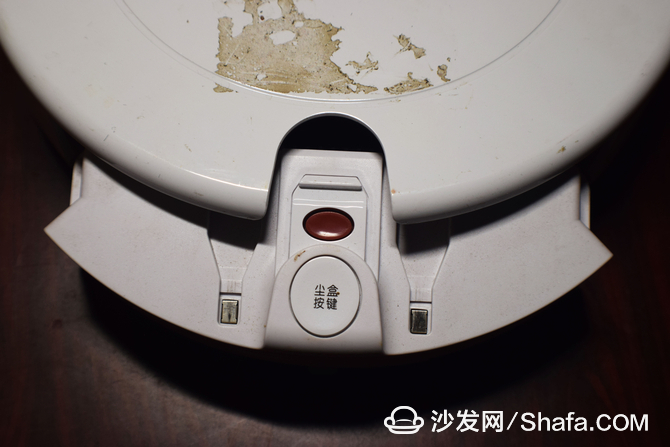
First remove the parts that are easy to dismantle, and the dust box can be quickly removed just by pressing a button.
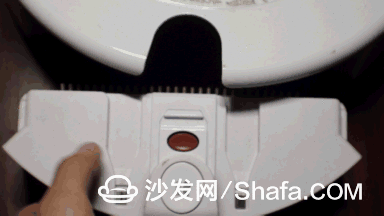
This red button is used for ejecting the built-in fan. Generally, the dust box is divided into two parts. One is the fan with motor and the other is the part of the dust box. Since there are motors in general, this is why the dust box cannot be washed directly.
Turn over to the next stage and simply clean the bottom.
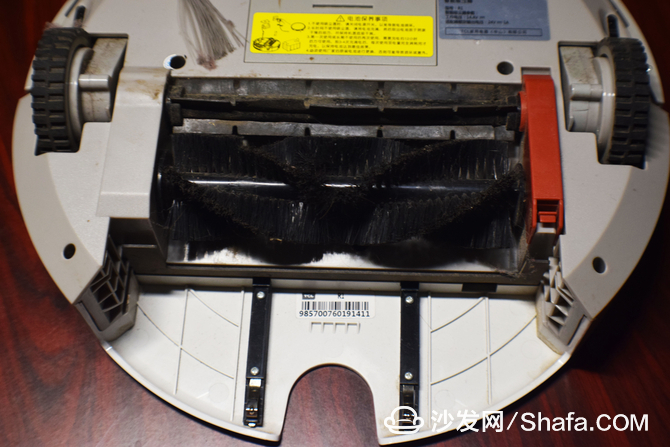
3. Roller brush
As long as the red fixed switch can be lifted, the body has a snap-type connection.
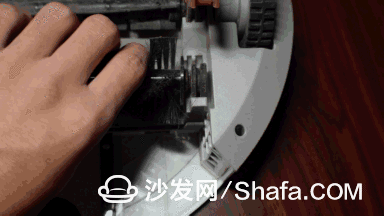
The two roll brushes are fixed by the red fixed switch.
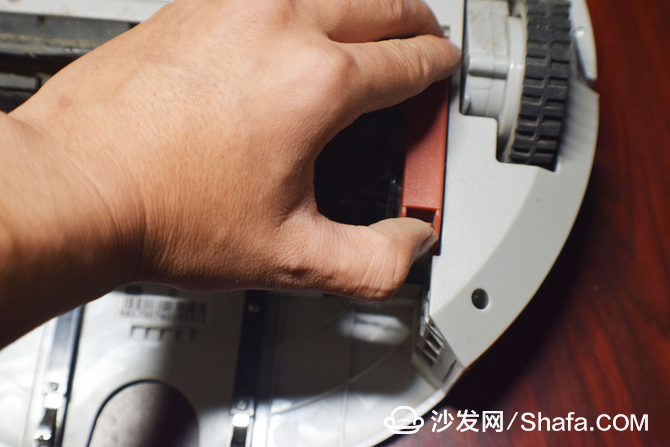
The next step is to use the part of the tool.
4. Power off first
To remove the two screws directly, remove the battery first to ensure the safety of the device and to facilitate the dismantling.
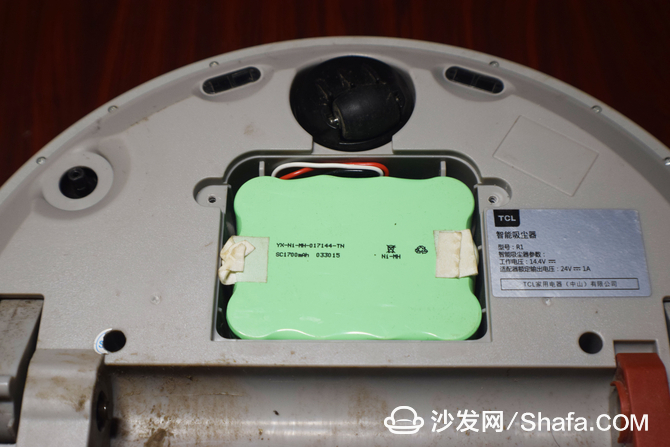
5. Remove the brush
The side brush is fixed by a screw and the dismantling is very simple. The brush material is harder and prone to deformation. It only requires a manual reconstitution in warm water.
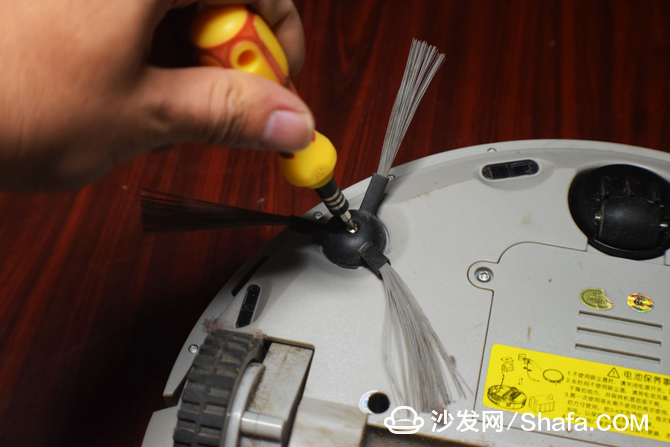
6. Remove the bottom fixing screw
Unscrew all the screws visible at the bottom, for a total of five. The two holes are deep and need to be used for long handle screwdrivers. The three empty holes are very shallow, yellow broken handle screwdriver can be.
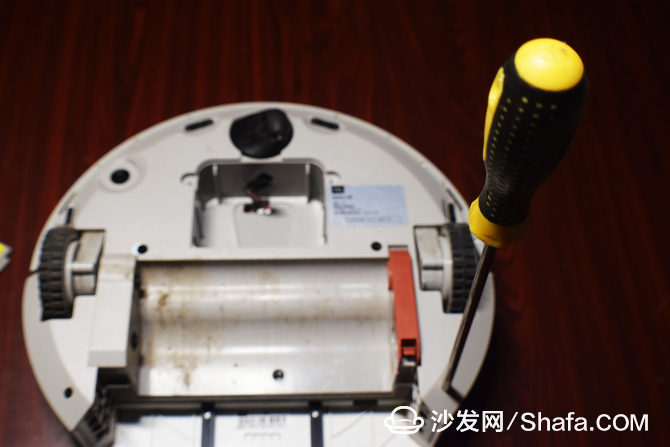
This is the five screws. At this point, most of the space in the cover can be opened. However, the cover cannot be removed. Why?
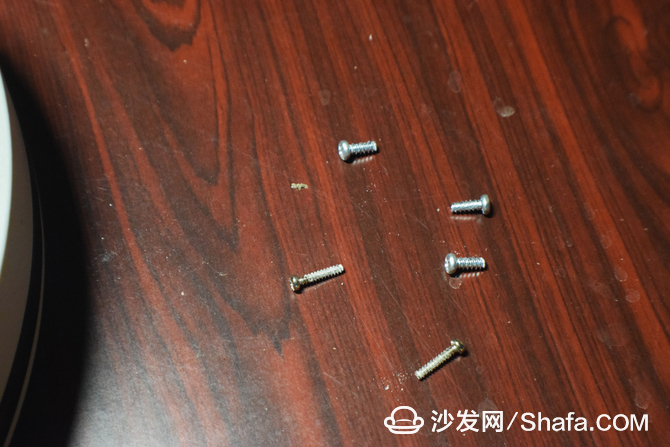
Because there are still two places where the screws have not been unscrewed, don't believe in marvelous rumors. First, the four screws of the two metal plates are not unscrewed. The metal plate is welded to the lower fuselage. The four screws are fixedly connected to the upper cover.
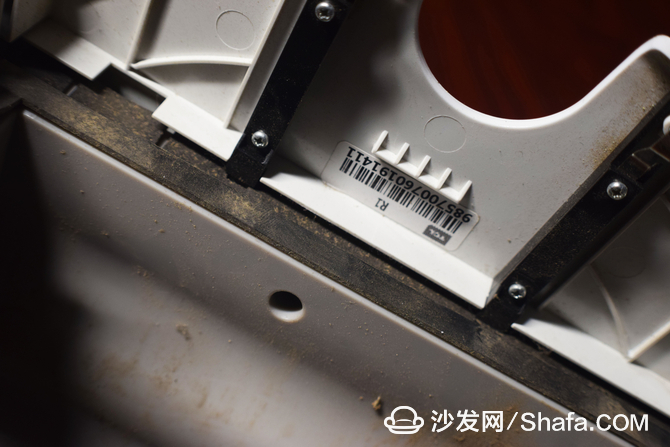
The other screw is somewhat hidden.
7. Get rid of the universal wheel
The reason is that this screw is under the swivel wheel, so you need to deduct the swivel wheel before you can start. The swivel wheel only needs to use a screwdriver to easily drop it. There is no way to fix it with screws.
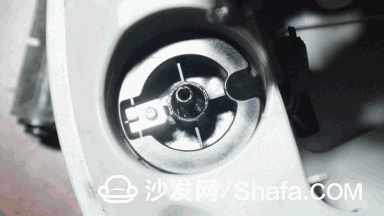
The hidden screw is the side of the edge.
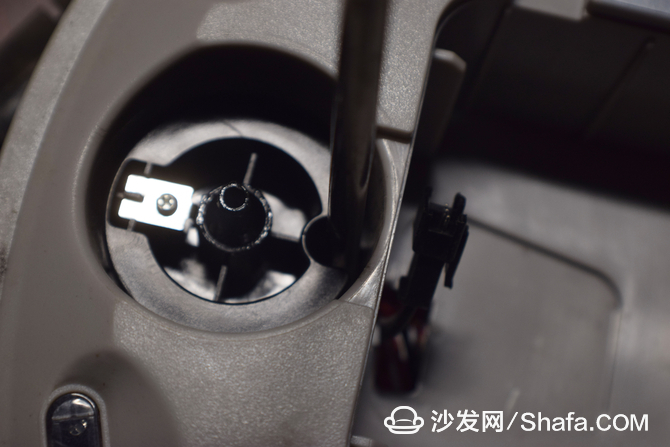
8. Remove the cover and remove the wiring
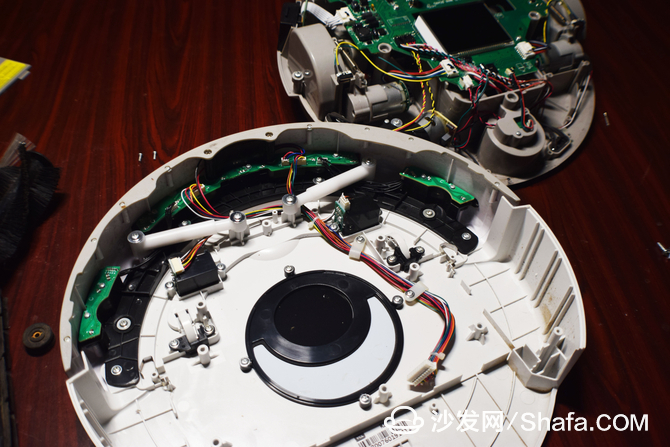
The upper cover and the bottom are connected by a power cord, so attention should be paid to the disassembly. Some of the differences are that after almost two years of use, the motherboard is still very clean. It seems that the maintenance of the family's own boiled man is still relatively good.
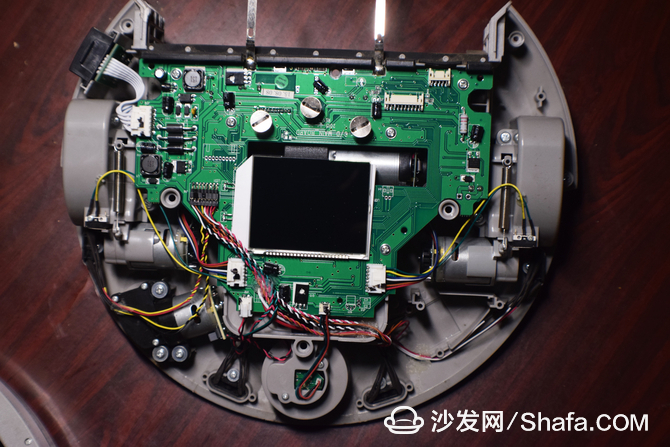
The main components and the main board are designed at the bottom. The top cover is mainly the infrared detector and receiver.
9. Motherboard cleaning, wipe the metal sheet
The dismantling is done both externally and internally, but cleaning up personal preferences from both inside and outside. Begin with hands, brush clean out dust around the motherboard, if there is a ball can also be used to blow clean.
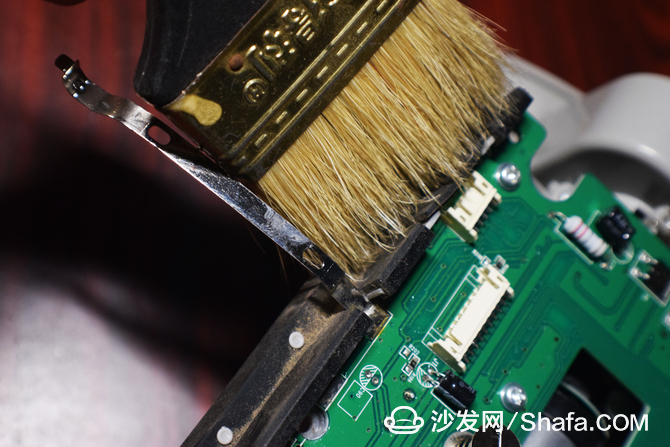
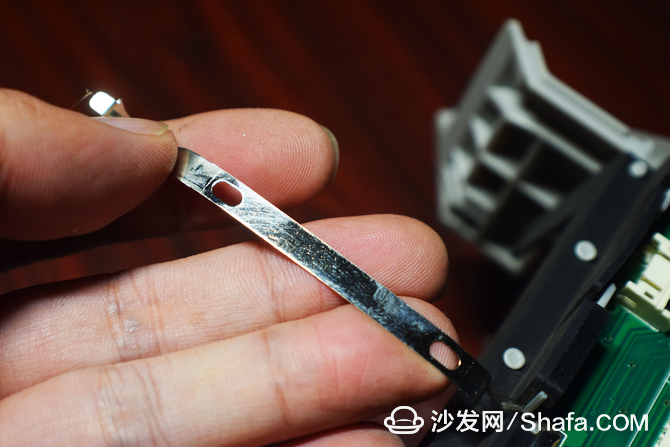
Secondly, for the part with the metal sheet, manual wiping is performed because the copper-plated design is not used, and it is somewhat oxidized.
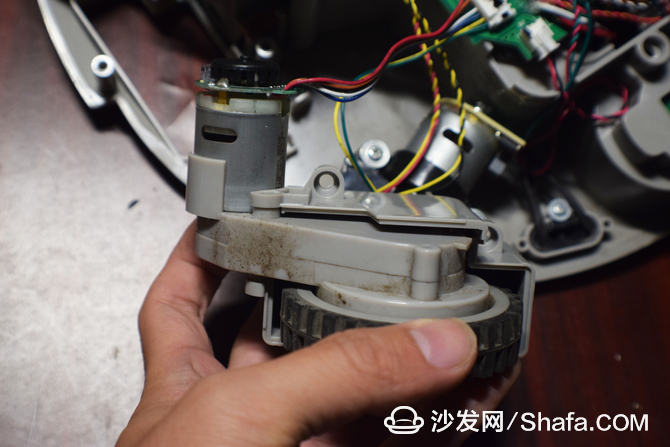
The front did not involve the dismantling of the wheel part. First, because of the dismantling of the wheel, the top cover had to be removed and some troubles. Second, the wheels had a design similar to the half-shield, which effectively prevented the dust from entering the inside of the fuselage.
10. Wipe the body
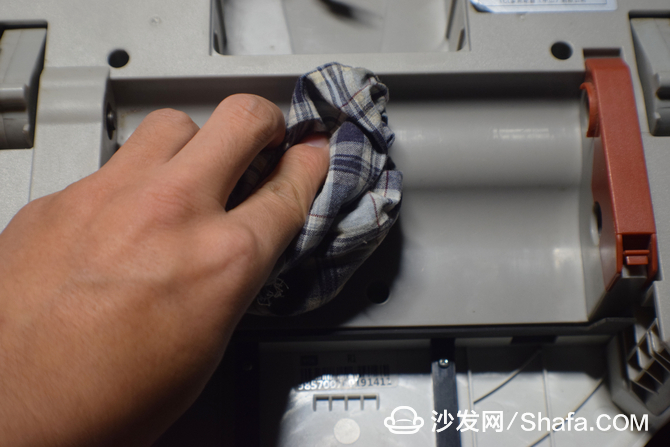
11. Large parts cleaning, remove the fan, wash the dust box, brush, roller brush
The dust box can be said to be the dirtiest part of the sweeper. Whether it is at the entrance or inside, the rubber part is not washed with a brush and washed directly.
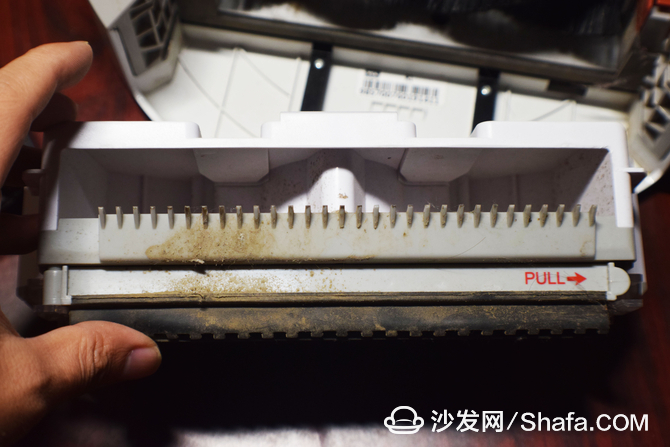
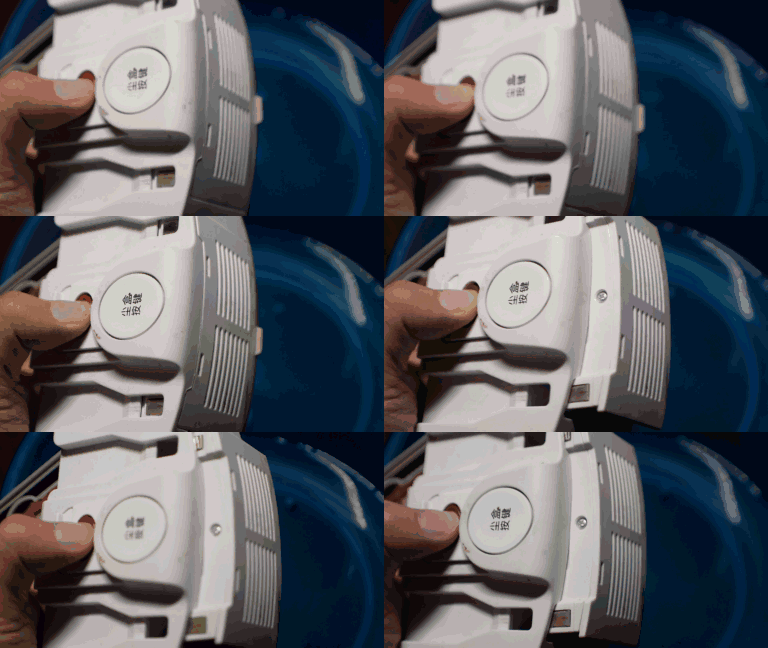
However, before washing, it is still necessary to remove the fan with the motor in the dust box.
At the same time, remove other hair and other debris on the roller brush.
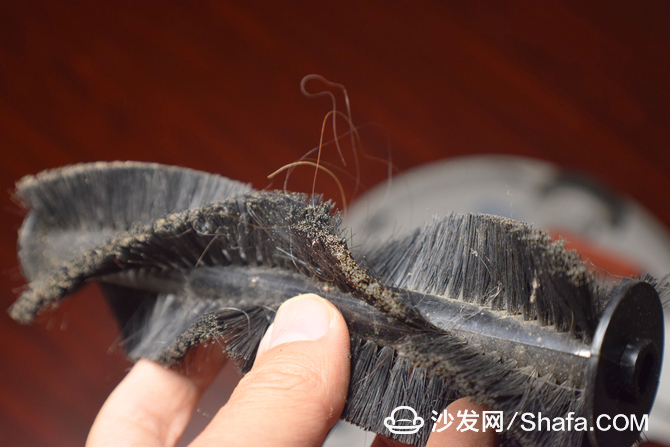
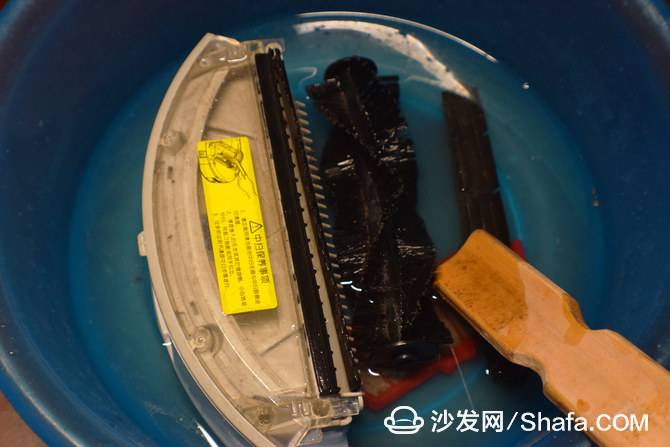
Then put the dust box, brush, and brush directly into the basin for cleaning. The next step is to dry, replace, and clean up.
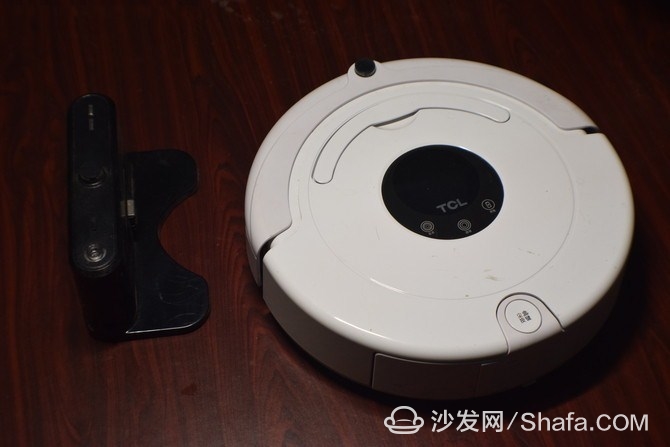
From the above it can also be seen that the TCL R1 disassembly is actually very simple, in general, as long as usually maintain a fixed frequency of cleaning, can extend the life of the sweeping robot to a greater extent.
Closed impellers have a back and front wall around the vanes, to increase strength. Closed impellers are used primarily in larger pumps and can be used in applications that handle suspended-solid service.
These types of impellers are commonly found in clear liquid applications. They don't do well with solids and are difficult to clean if they become clogged.
Still not sure which impeller will be best for your next pumping application? Be sure to check wtih an application engineer who is well versed in pumps and selection best practices.
Closed Impeller,Closed Impeller Design,Closed Impeller Pump,Semi Closed Impeller
Shenyang Zhicheng Heavy Machinery Manufacturing Co., Ltd. , https://www.zhichengmachinery.com